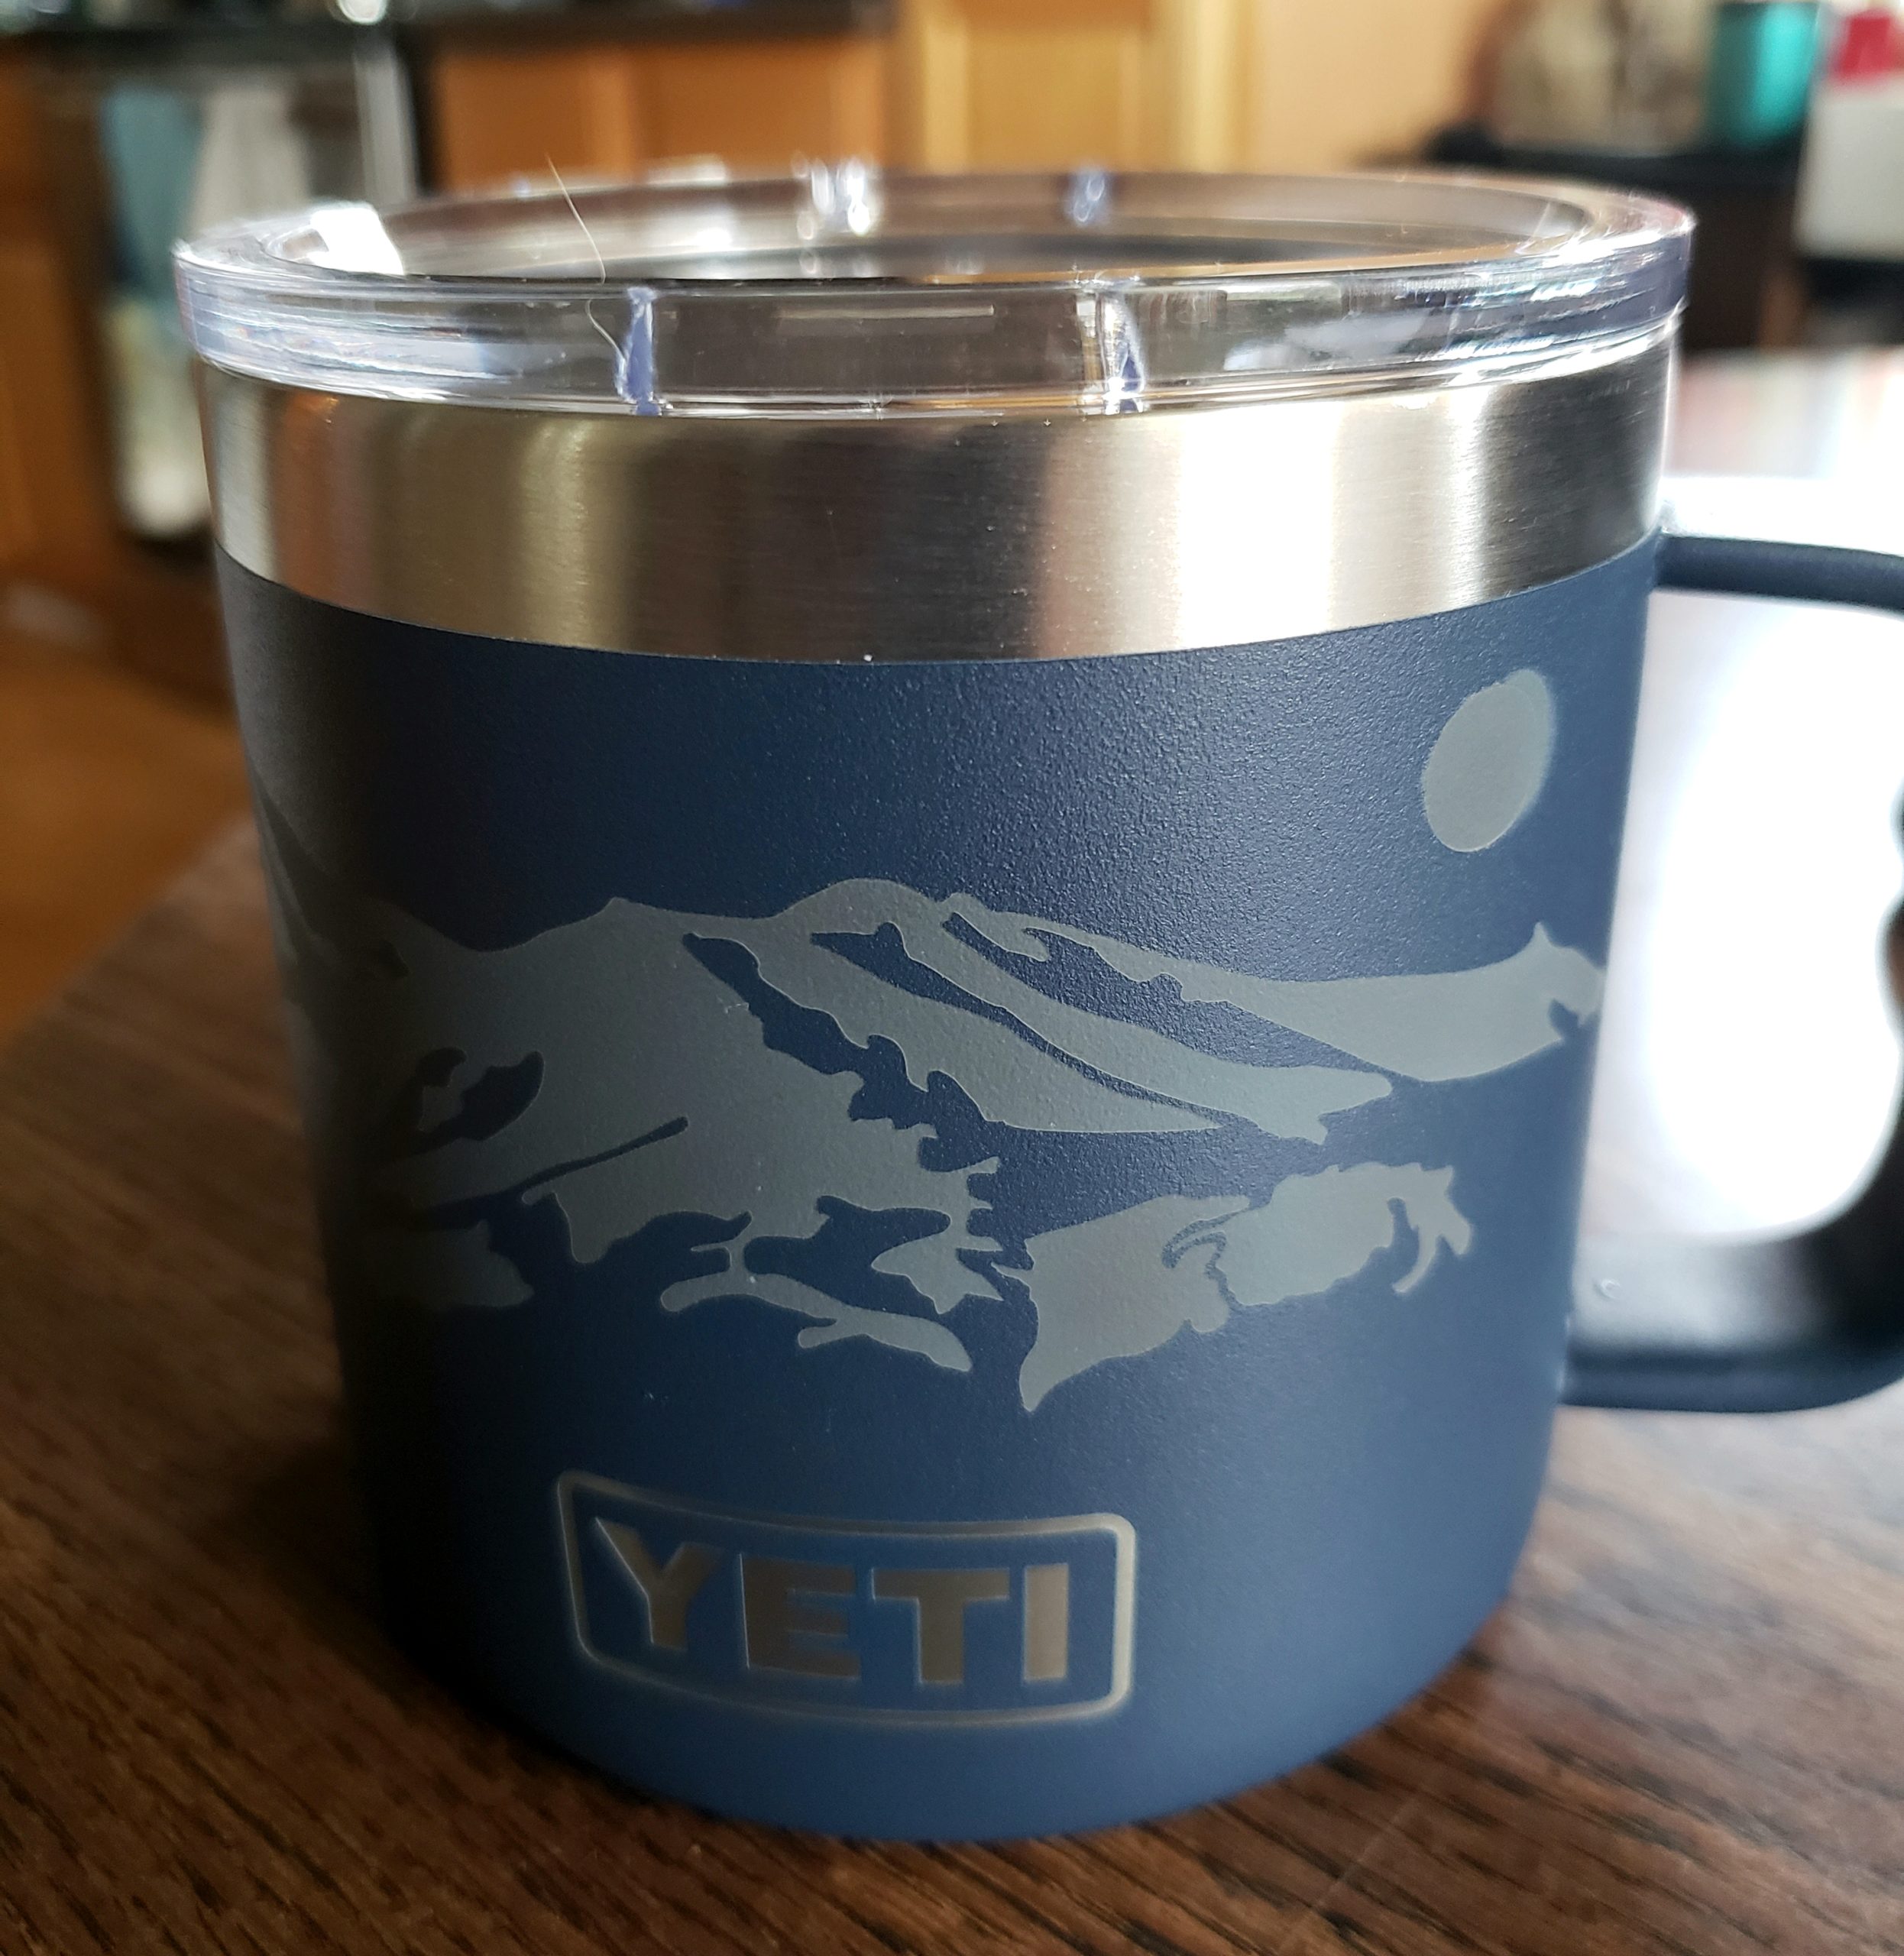
Prepare the blank. It’s a good idea to wash the exterior thoroughly before sandcarving. I like to wipe with rubbing alcohol, then a good scrub with dish soap and hot water to remove any oils or residue.
Apply the artwork. I am a big fan of the photoresist process stencils but have had great success using 4-mil vinyl and soft rubber pre-cut stencils, and even a few resist items found around the shop.
Mask carefully. Double your masking tape to avoid blow-offs or blast-throughs is suggested.
Etching equipment. While there is a distinct advantage to having a self-contained, pressurized unit, these items can be completed with just about any equipment available. Lower pressure, finer grit, and a clear thought process are the major notes.
Slow and steady. Etch in a back and forth motion, taking care not to get the nozzle too close. We are all aware that it is the adhesive breakdown from the heat created by friction that compromises our stencils, so take care to not overconcentrate the abrasive flow in any one area.
When finished etching, submerge the piece into a dish soap/water bath, and let soak it for 5-10 minutes. The masking and most of the stencil material usually just fall off, but a bit of a rub with fingers or a soft cloth will finish the job. Give it a thorough rinse and dry with a clean cloth, and that’s it.


