It’s Wednesday morning; it’s very early, still dark and cold outside. At the first stop sign of your morning commute, you spill your entire mug of coffee on the floor of the car. How nice, what a great start to your day. You get to work, park your car, and fumble for your keys to unlock the heavy metal fireproof door that’s located on the shop side of the building. As the door swings open your senses are immediately overwhelmed by a very recognizable odor; it’s a smell you know very well, and it seems to be very out of place at the moment. Suddenly, that strong odor turns on a light bulb in your head and you instantly realize what it is and why you’re smelling it.
Thanks to your pre-planning the night before, you took the time to actually read the directions on how to set the auto-brew feature on the new coffee machine they installed in the break room. Yeah baby, you now have fresh, hot coffee ready and waiting for that mobile travel mug you emptied out on the floor of your car.
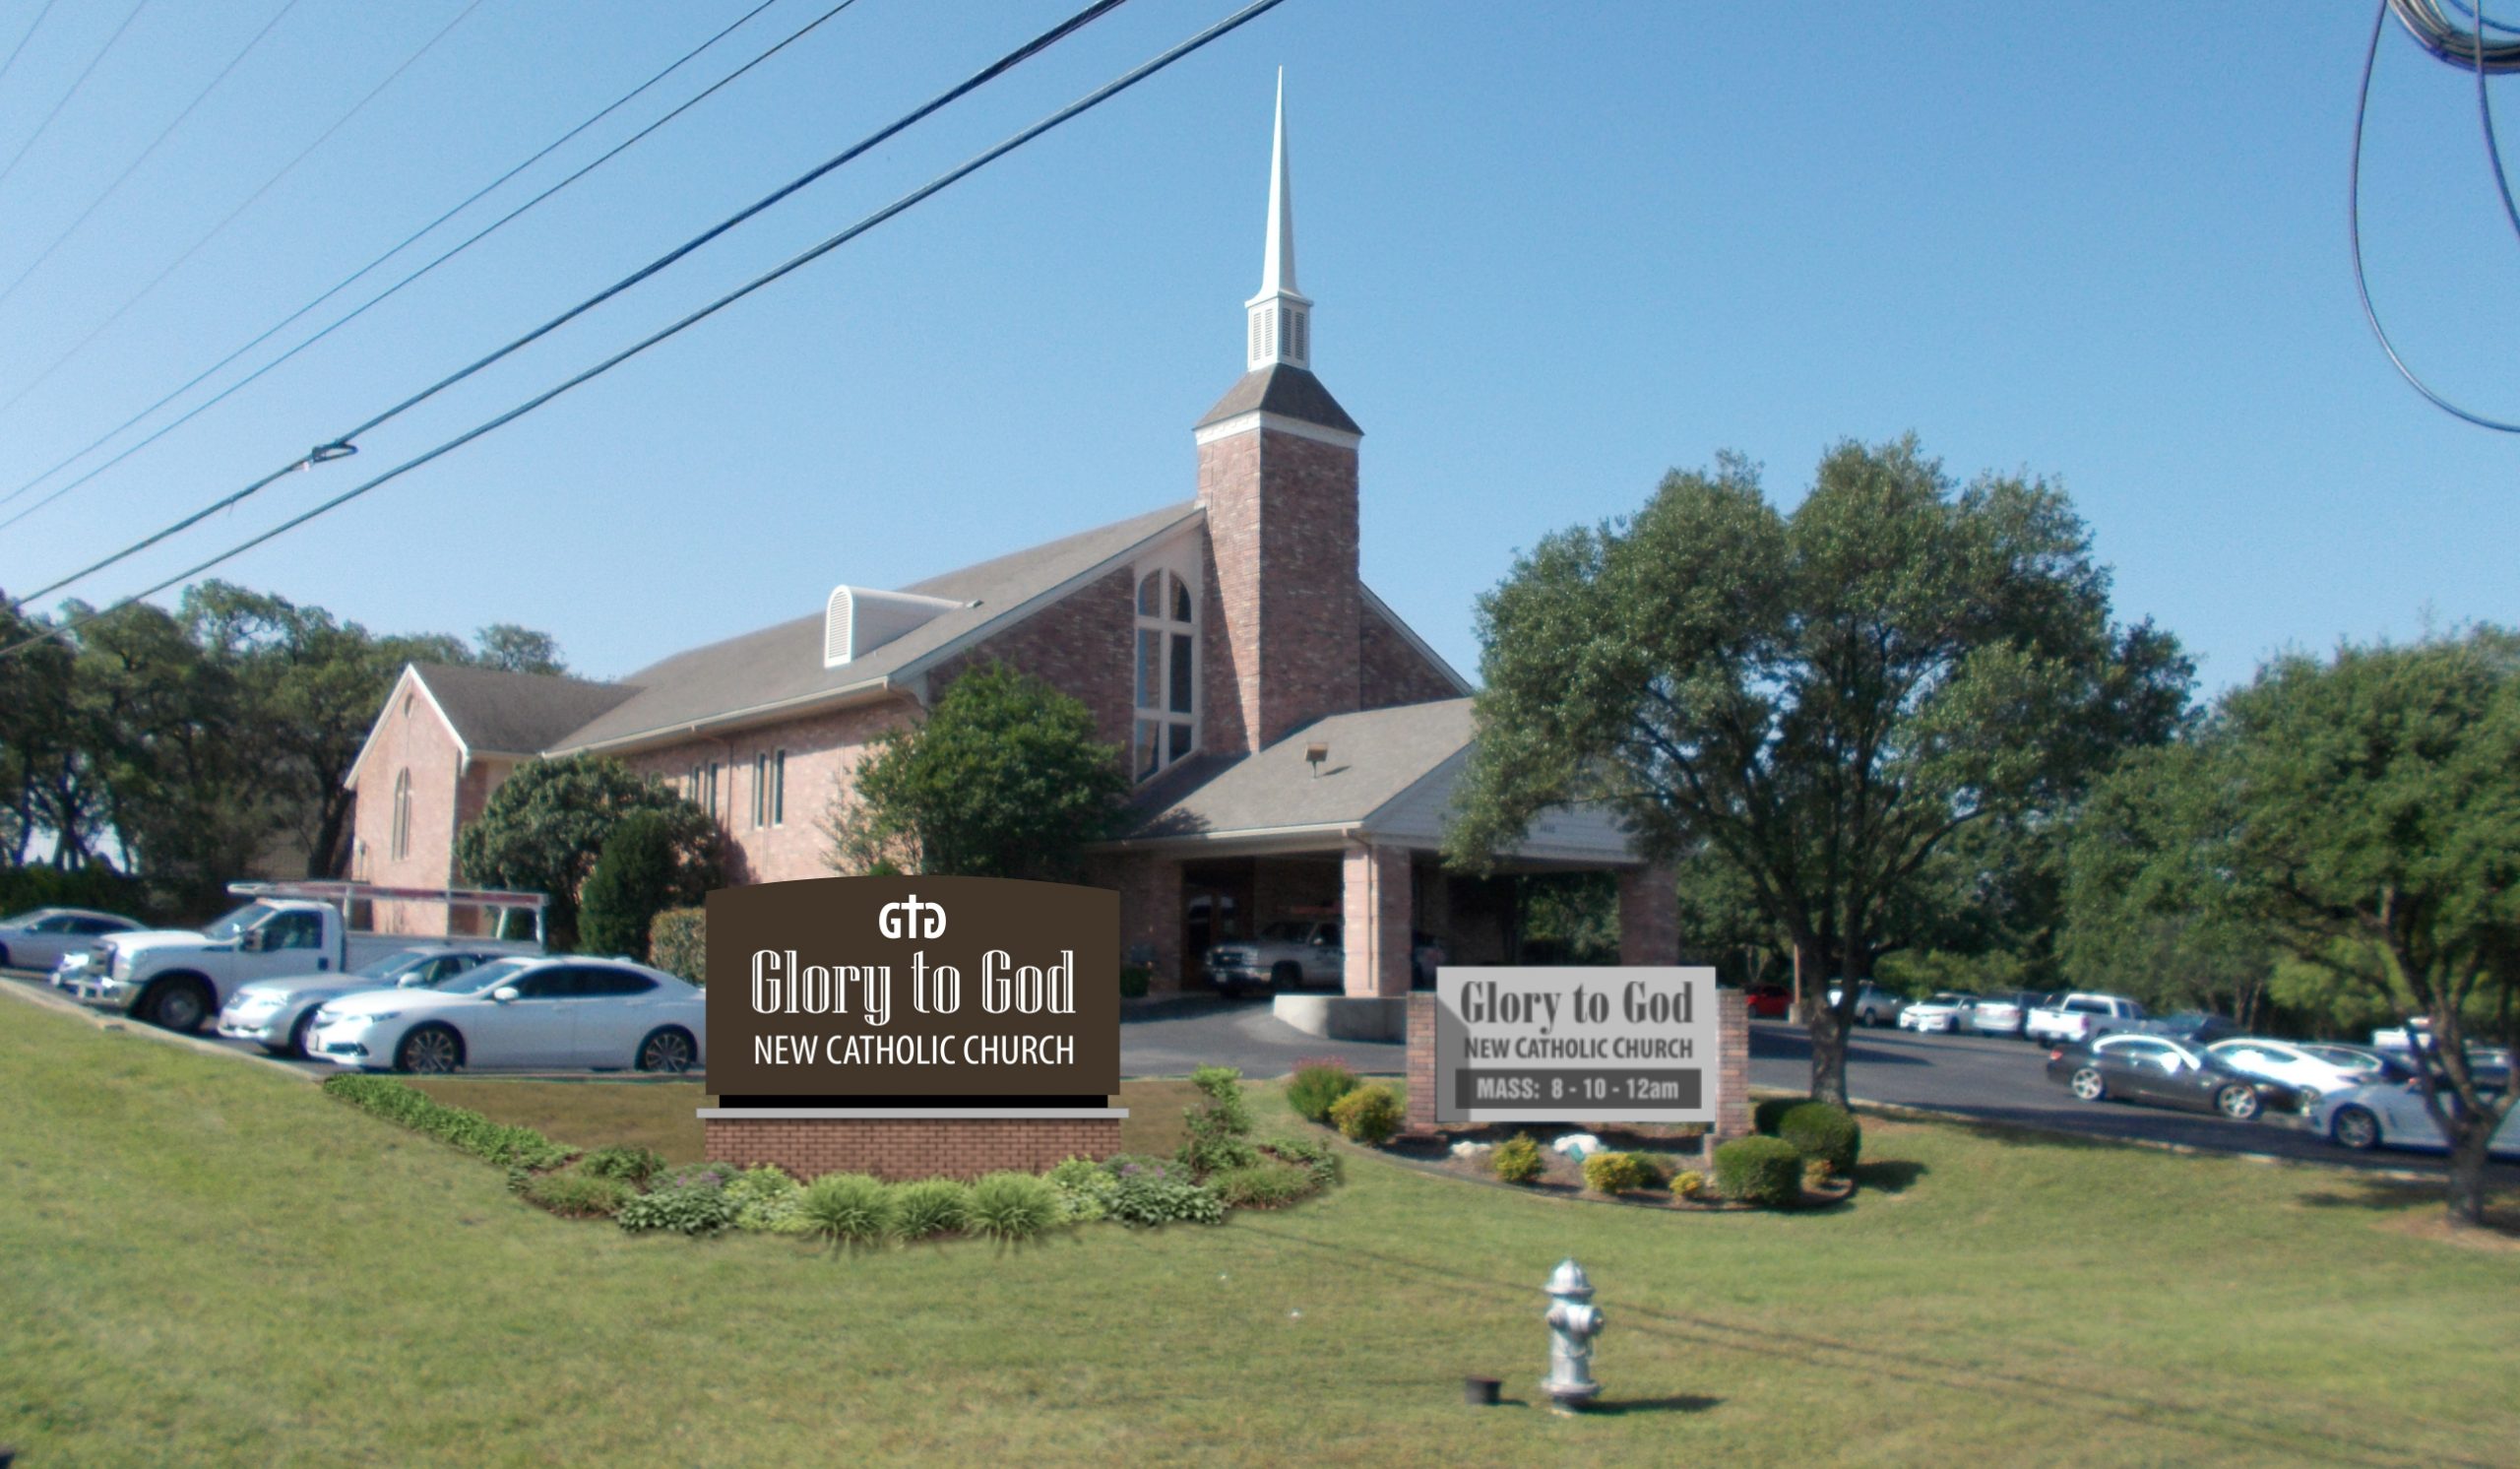
You hang up your coat, refill your mug and sit down at your design station where you begin to review a new design request you received the day before. It’s a monument sign request for a new church in town but this one’s got a unique twist to it. This project will give you the opportunity to be not only visually creative but mechanically creative as well.
What’s unique about this job is that right now they cannot afford the sign they really need, at least not for a few years. They want and need an option for adding additional structural elements at a later date without it looking like an afterthought. You recall how you planned ahead for this morning’s coffee by taking steps the night before so that you would have hot coffee this morning when you needed it. Perhaps there is a way to plan for this sign’s expansion ahead of time? You have four hours to come up with a plan.
So where do you start?
First off, let’s review the scope of the project:
Monument sign: Single face sign design
Height: 24′
Width: 16′ – 20′ (TBD)
Top cabinet: Internally illuminated, aluminum face with routed and backed acrylic graphics.
Base: Complimentary with an option for an EMC to be added at a later date.
External illumination: Floodlight at base of sign for added dramatic effect.
Building construction: Dark red brick with white trim, white columns, white bell tower.
Start with the top cabinet
Looking at the church’s logo, I would start at the top of the sign with the face cabinet. By starting here, you can build the shape of the face in such a way as to compliment the layout of the logo. In this case, the logo takes up a horizontal visible opening, so let’s make the face fit the logo shape.
Next, I would look at the base or body cabinet of the sign. For the future, there needs to be a place to house a large EMC in the base of this 24′ tall X 20′ wide sign, but you don’t want the monument to have a huge empty cabinet sitting directly under the top cabinet.
You decide to create two options for this project. One option will allow for the big sign cabinet to be fabricated as a shorter monument sign that’s only 15′ tall. (Fig. 1) The second option is to build the sign full size as if the EMC was in place. To avoid the large bare area below the top cabinet, you create an option that features back-lit flex face panels that can be decorated with a translucent digital print and swapped out as the seasons and events change. (Fig. 2) It would provide the church some options for advertising until the funds are raised for the EMC (For this article, leasing the sign was not an option).

Remembering how you planned ahead with the coffee prep from this morning, you realize that this is where the internal structure and foundation support of this monument sign must be designed to hold up the sign when it’s completed and the EMC is in place. So, the question is, how is this done?
Planning for the future
Regardless of which option is chosen, the foundation work and the support pipe would be designed and engineered in exactly the same way to accommodate both sign options.
The 24′ option
With this design, the same footing, pipe, and construction are created and the support pipe is left at its full length of 24′ above grade. (Fig. 3)

The expanding option
In this option, the sign is designed and engineered with the same pipe and foundation as the 24′ tall option, except that the pipe is cut short for now, and added to later when the EMC is installed.
A common dilemma to avoid
You recall the many times you have been given a design request for extending the height of an old existing pylon or monument sign. Of course, you know this is a big no-no as there is no documentation on what is below the surface. How deep do the pipe and caisson go? How big is the caisson? How much wind load will it sustain? None of this information is available, and consequently, the existing structure cannot be used. You realize that this could pose a similar problem if certain steps are not taken in advance, to let everybody know what steps have been taken for this future expansion.
What to document and how
What about the internal framework would need to be documented and with whom? Let’s face it, it could be years before the church decides to add in its EMC. Things change, and options that were once mandatory can become nothing more than an idea that may no longer be necessary or desired. So, what exactly do you plan for? In this case, I would first design the sign with the EMC in place, as if it was the “phase two” part of the sign’s expansion. You will use this full-size design to create the engineering files for this “phase one” sign. So, even though the sign may only be 12′ tall, the foundation caissons, the pipe, and the construction of the internal structure of the sign will all be designed, engineered, and built as if it were the 24′ finished sign.
Document the foundation for future verification
Remember one thing, you may not be with the company 10 years from now. The salesperson, the fabricator, and the installers may not be there either. There may be nobody left at the company who remembers that this sign has a “special” foundation and internal structure. Or, the files might all be accidentally lost due to disk failures, viruses, file corruptions, or ransomware. As we all know, once the pipe and concrete are in the ground and 10 years go by, without documentation it could be anyone’s guess as to what exists below the surface.
Make it obvious. Really obvious
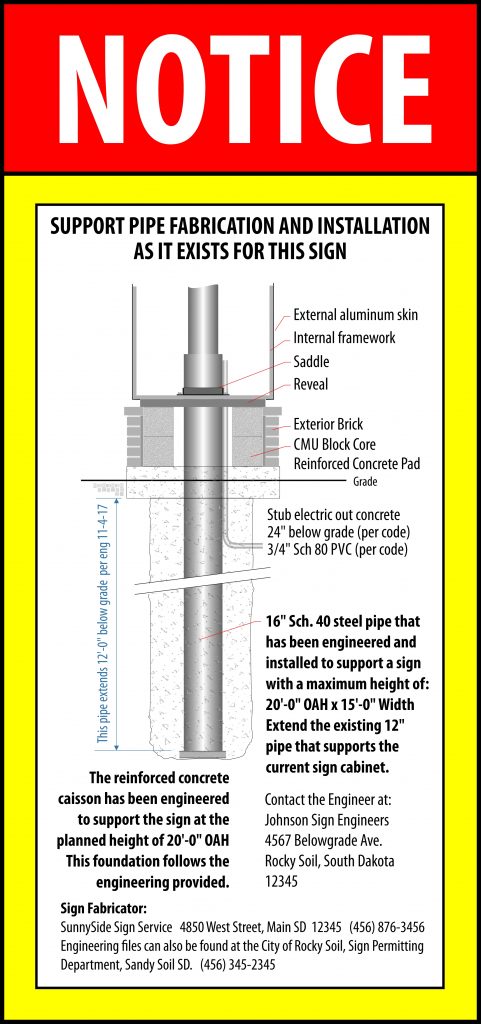
To make it obvious means making it known to everyone, on every document within the packet. It means listing on every drawing a note about the foundation and where the information can be found. Here are a couple of ways to make this information known for anyone who might need it in the future.
– Attach a large metal sign to the pipe, somewhere inside of the main cabinet or the base. A sign that’s bright, bold, and noticeable. It should illustrate and detail the fabrication information about the foundation, the pipe, and the cabinet construction. It should also list the name and contact information for the engineer, the firm, and the license that the engineering firm used to create the calculations. (Fig. 4)
– Make multiple copies of all of this, including photos of the little sign attached to the center pole, and give it to the customer for their safekeeping also. Explain the importance of keeping the info somewhere safe from fire or water damage, yet noticeable enough not to get lost. Provide this information to them in a bright, fluorescent yellow or green file folder so that it is recognizable and doesn’t get misfiled somewhere.
Why is this so important
Without this information, the old foundation would have to be removed or abandoned, and a completely new foundation and support pipe would need to be installed. It would defeat the whole purpose of the project.
This can surely lead to an additional sale down the road. By documenting what was done, both on the paperwork and on the sign pole itself, you will have smooth sailing once the client is ready to add in that EMC. Yes, you will be the hero.