Plastisol inks must contain two ingredients: resin and plasticizer. When these two ingredients are stirred together at room temperature, the liquid softens the surface of the solid and makes it slightly tacky. This is the end of the chemical ongoing until the plastisol is exposed to higher temperatures. The plastisol will wait forever in that phase until a nominal 115 degrees F, at which point the ink drops in viscosity. The liquid phase fluxes or flows into the solid at a very slow rate for a brief time until equilibrium between liquid and solid is achieved. We know this phase as “warming up the ink” or “pre-heating the platens.”
The next phase, flashing, gels the ink at more than 135 degrees F, the point at which the solid has absorbed sufficient liquid so the ink is neither fluid nor fused but will not be damaged nor will it transfer to subsequent screens during the press run.
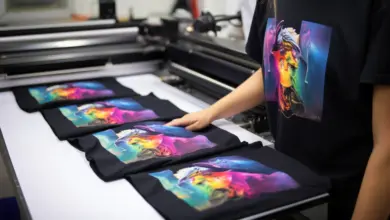
Typically, fusion or cure are caused by passage through a conveyer dryer. Fusion is the next phase at which all the available liquid is absorbed by the solid particles. If we are really good with an acetylene torch, and fusion will occur in an instant. Conversely, if we are running with low input voltage and/or low panel or lamp wattage and can only achieve 250 degrees F fusing the plastisol will take a very, very long time. Fusion is a time/temperature state affected by garment construction, input temperature, ink deposit, color, and chemistry and there is no expert, forum, website, or meter which will ensure fusion temperature unless someone first tests for cure under specific conditions.