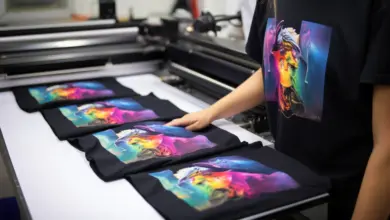
How to Create Patches in Bulk
Scale your patch production and maximize your profit by efficiently using your time and materials!
Are you looking to create patches in bulk? We’ve got the tips and tricks for you to scale your patch production and maximize your profit by efficiently using your time and materials.
First things first, the number one thing that is super important in creating production-level patches is the embroidery area of your embroidery machine. If you are in the market for an embroidery machine, remember that the embroidery area affects the number of patches you can create in one single run. To be highly efficient in creating emblems in bulk, you want to eliminate the amount of time rehooping material and create as many pieces as possible in one hooping, or one run. This means using the largest you hoop have.
If your embroidery machine came with an extended table option, this would be the time to break it out. Extra-large hoops like a 48″ X 14″ sash frame can produce 36-40 patches depending on the patch size. Standard emblems are typically 3-4″.
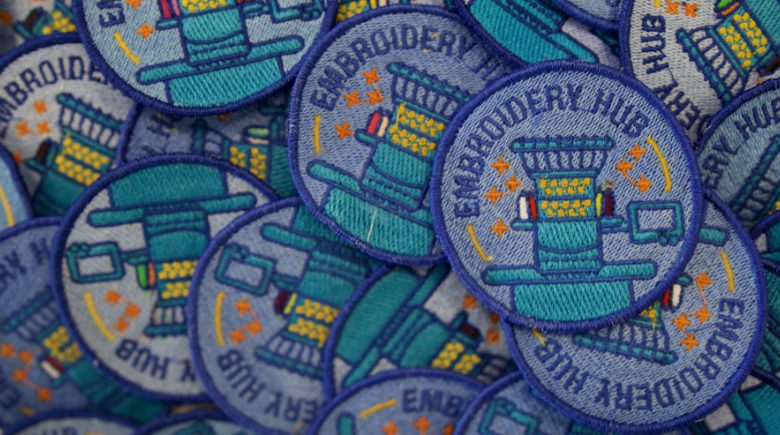
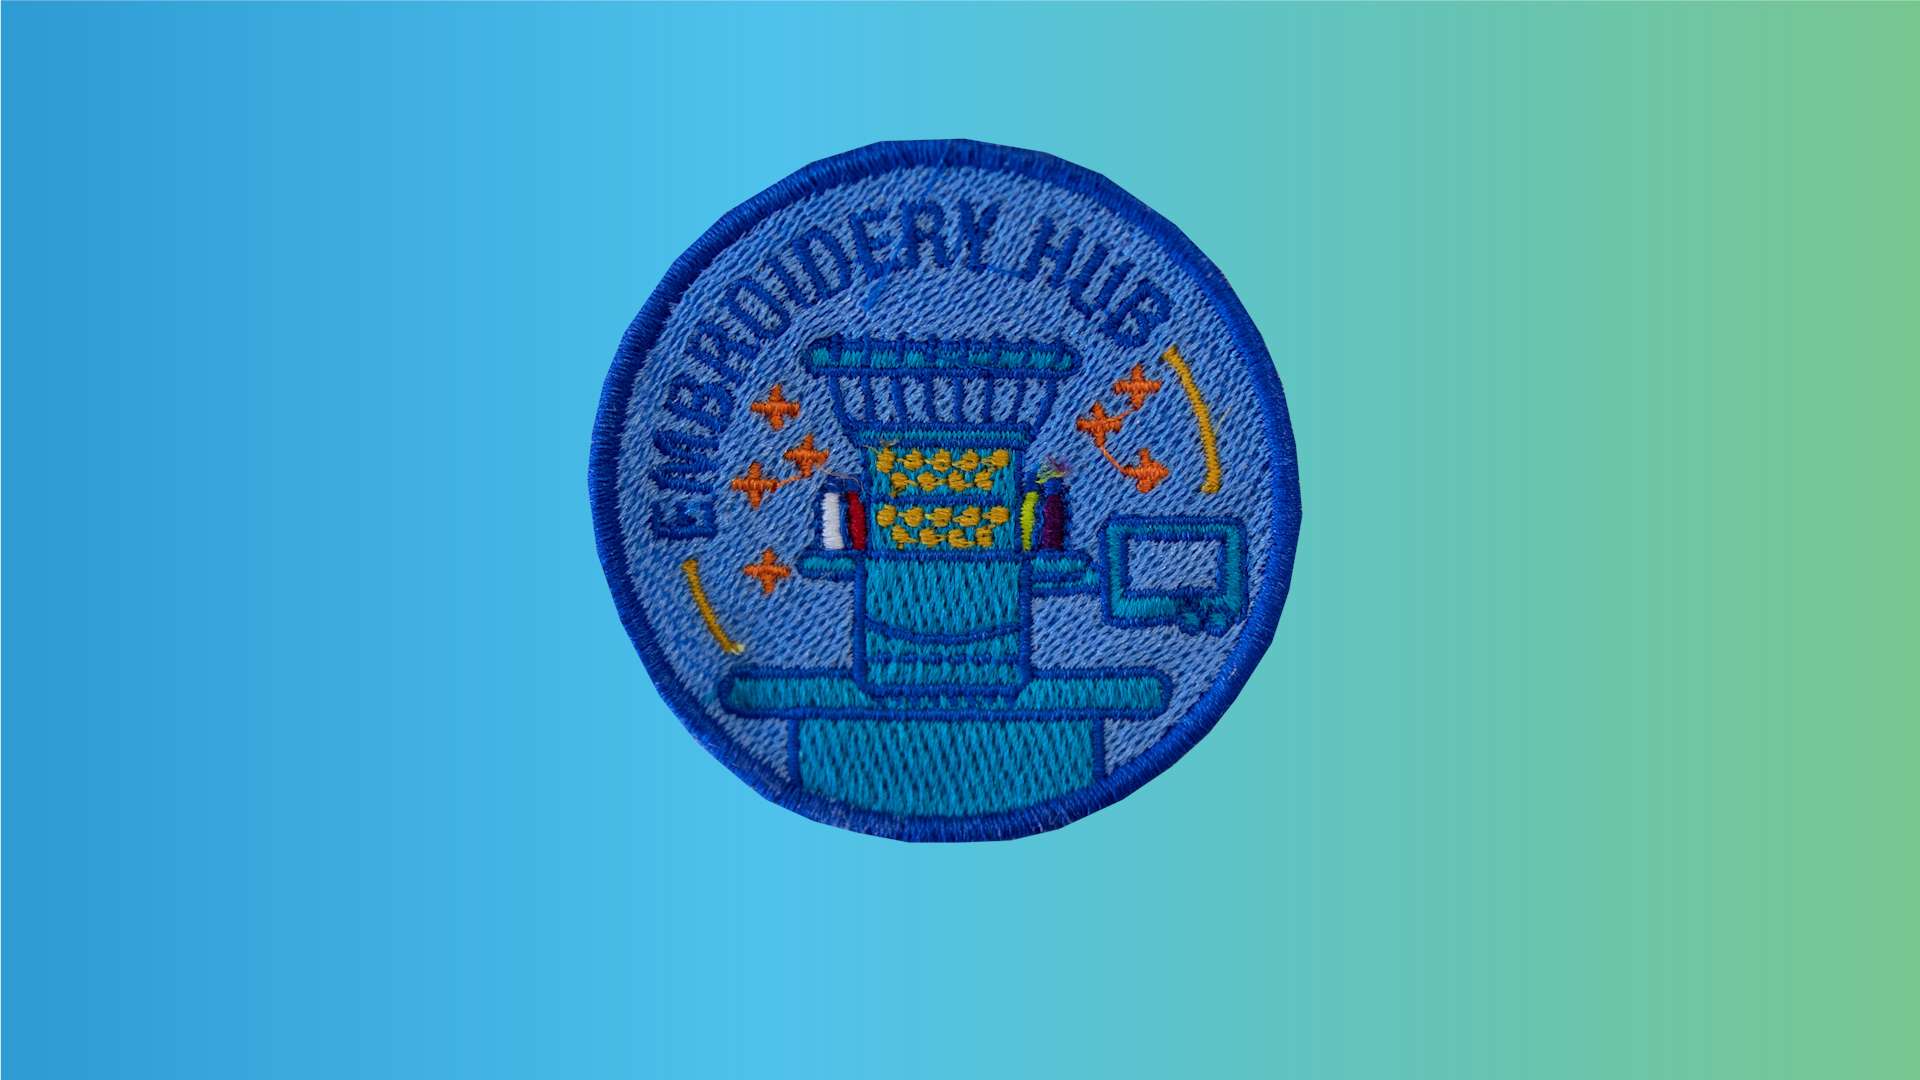
There are two kinds of patches when it comes to embroidery: thread-based and fabric-based patches.
A thread-based patch requires a lot more stitches because it’s entirely made up of thread. As a result, the machine run time is much longer for each piece than with fabric-based emblems.
A fabric-based patch uses a piece of fabric, usually twill or felt as the background (or fill), drastically reducing the number of stitches and machine run time. This kind of emblem will only require stitched details on top of the pre-placed fabric, much like with appliqué. However, before you decide this is the best way to go, take into consideration that there is a lot of prep work and steps to take to complete this kind of piece.
Now, let’s take a closer look at these two different processes.
To create thread-based patches, you’re going to need a whole lot of water-soluble fabric stabilizer. This material works as the support, just like regular fabric would support your embroidery.
With the fill of your patch made of stitches, this design and the finished piece will be much denser. The more stabilizer you use, the more stable and structured your emblem will be. Using three sheets of medium to heavy-weight water-soluble stabilizer will mimic the tension that fabric usually provides and help your piece keep its form after washing away the excess.
WARNING: Do not use a clear water-soluble stabilizer for thread-based patches.
Once the design is in your embroidery machine, it’s time to duplicate the patch as many times as your allotted hoop area allows. Most embroidery machines have this function available. Remember, the run time will be extensive, considering the number of stitches required to create a full 3-inch patch repeatedly.
After the patches are all stitched out, you can pop them right out of the stabilizer and wash off the excess stabilizer surrounding the piece with lukewarm water.
TIP: Do not leave your patches submerged in water too long, just enough to eliminate the surrounding material. The more stabilizer that remains, the better it will keep its form.
On the other hand, while using fabric to back your patches will take less time in the machine, there is a lot of prep work and steps to complete a bulk amount of these patches.
To complete this project, you’re going to want to use either felt or twill as your fabric, as these are the most commonly used in this process.
TIP: Felt is the more economical choice, plus it does not fray at the ends and leaves clean edges.
For these kinds of patches, clear or water-soluble fabric stabilizer will work. You’ll only need to hoop one to two sheets depending on the weight. Double up for lighter-weight stabilizer. You’re also going to need temporary adhesive spray on hand.
First, precut your fabric in the shape and dimensions of your patch. Precutting might seem like a tedious task, but using fabric instead of stitches as the fill will take less time in the machine and less time overall if you use cutting equipment.
Now, there are two options we’ve used in the past for completing this project:
As we explained with the thread-based patch, you can take your patch design and duplicate it repeatedly to utilize your hoop area and create more pieces in a single run.
For fabric-based patches, you can do the same thing. However, to ensure correct placement of your fabric for the design’s stitches, you must first complete the run stitch that outlines the patch design and then stop the machine so you can place your precut fabric within the run stitch borders.
Once the fabric is placed and fastened with temporary adhesive spray, start your machine again to continue the rest of the stitches on top.
This process leads to many stops and starts on the machine for each patch, meaning you will have to babysit it the entire time to place the fabric down.
Another option for creating fabric-based patches and cutting some time off your production is creating a digitized file that includes multiple emblems in one design. Rather than creating a DST file for one patch, you can create one DST file for multiple that will fit the size of your embroidery area and digitize the first color stop to be a running stitch of each piece.
What will this do? This option will allow for the machine to complete a running stitch of each patch first. Once all the running stitches finish out, you can then place all your precut fabric in the stitched outlines all at once. Now, press the start button on the machine, and you’re off! No need for multiple stops and starts.
With these tricks, you’ll be pumping out more patches than you’ll know what to do with!